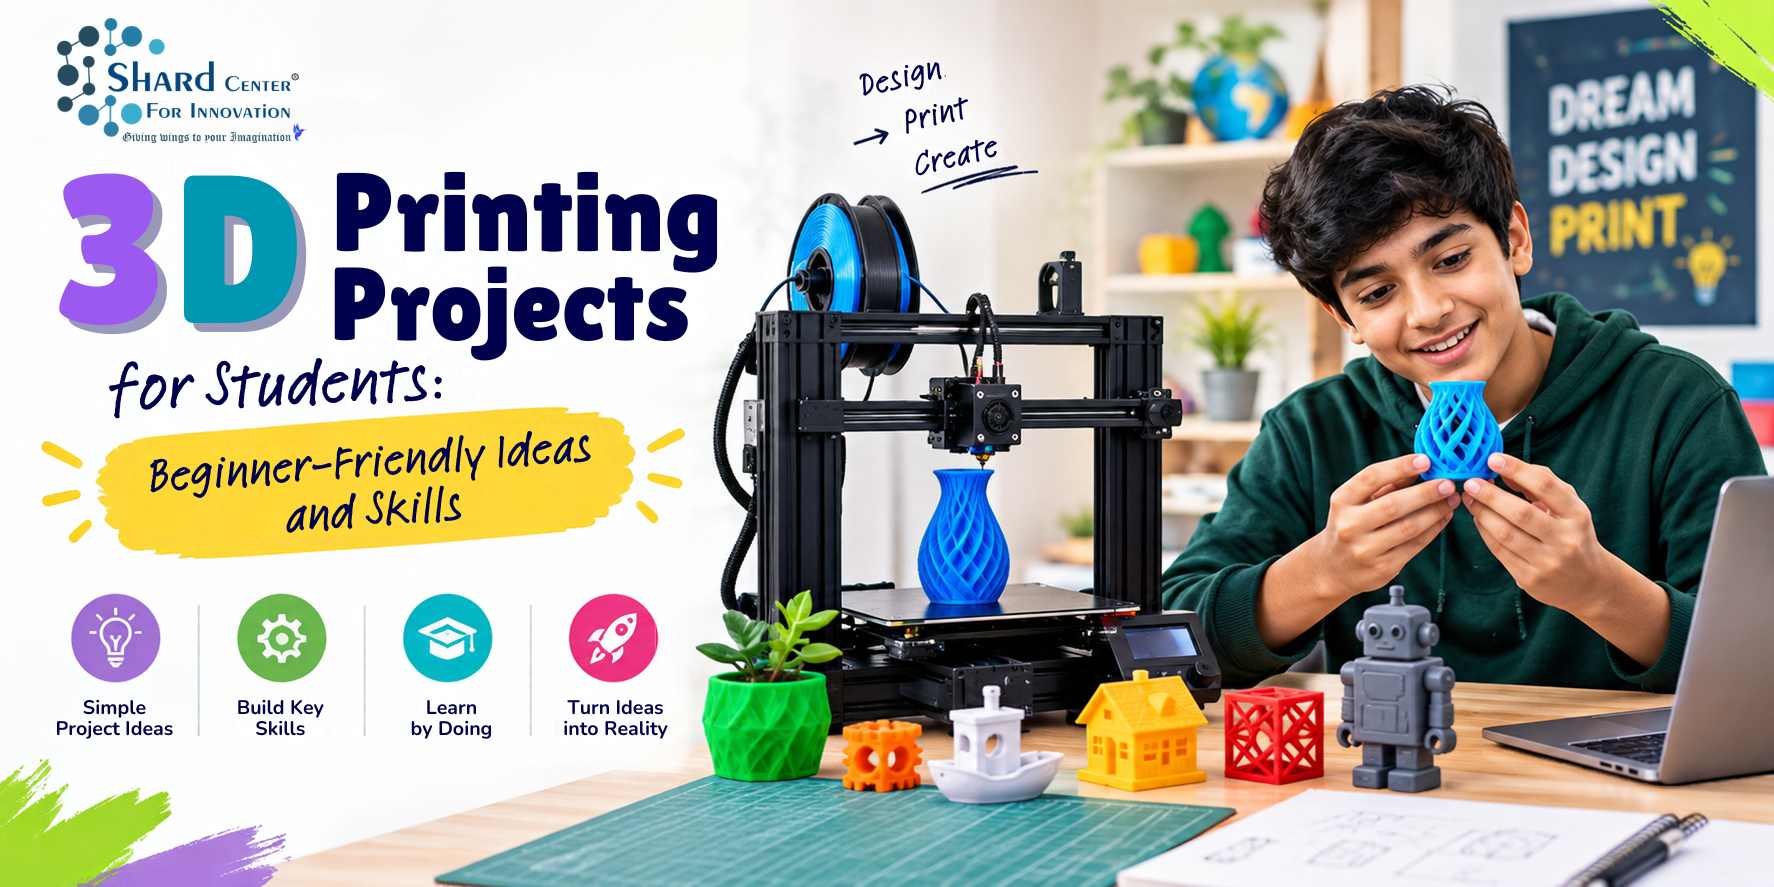
3D printing is an in-demand skill that is not too difficult to learn for beginners. Learning the skill follows an iterative process, which involves designing an idea, preparing it for printing, printing it, inspecting the result, and improving it. This article offers a project-based approach to learning 3D printing and is a part of our complete 3D Printing Course Guide written for beginners, parents, and educators.
Why Projects Are the Best Way to Learn 3D Printing
3D printing projects allow students hands-on learning with better learning results as compared to reading tutorials. The best way to learn 3D printing is to begin with small projects and gradually increase dexterity. Short projects allow students to iterate and improve their print results. Every project should begin with a learning objective. This article provides a list of projects that the student of 3D printing can emulate and develop. Each project offers different levels of complexity to aid iterative learning.
Project 1: Personalized Name Tag
As the first project to be made, a name tag is suitable because it feels personal while being geometrically simple. Students create a basic shape, set dimensions, add raised or recessed text, align elements, and round sharp edges. They learn that very thin text or tiny details may not be printed clearly. It is a challenge for the student to reduce material without making the tag fragile or redesign the same tag for a different attachment method. This teaches the student that there can be many valid solutions to a design brief.
Project 2: Keychain With a Functional Hole
While creating a keychain, an important consideration must be kept in mind: the object must survive use. Students must create a hole for a ring, think about the material surrounding the hole, and consider whether decorative features weaken it. After printing the object, students can iteratively inspect and develop the object and its edges and compare its dimensions with the digital model.
Project 3: Desk Organiser
A desk organizer introduces internal spaces and wall thickness, as students can measure pens, cards or other objects and create compartments around those dimensions. They decide the thickness of the walls, how tall the organizer should be and whether unnecessary material can be trimmed down. The project can be turned into a challenge to create the smallest organizer to hold a specified set of items. This challenge adds constraints and promotes efficient use of space and material rather than simply making a box.
Project 4: Phone Stand
A phone stand is an intermediate project in terms of complexity. This is because several of its requirements interact—the slot must fit the device, the viewing angle should be comfortable, the base should be stable, and the geometry should print without too much support. Students can realize that a design which looks good on the screen tips over once it holds a real phone. Testing becomes important, and students can change the angle, base length, wall thickness, or cable access and compare different versions.
Project 5: Box and Fitted Lid
Creating a box and fitted lid is a good way to teach tolerance, since the physical parts may not fit as expected if the lid and box are designed with matching dimensions and no allowance. Students can test different clearances and see which produces a sliding, snug, or loose fit. By creating a box and fitted lid, students learn shelling, repeated dimensions, edge treatment, and the importance of printer-specific calibration.
Project 6: Moving Mechanism
Creating a wheel and axle, hinge, or rotating joint introduces assemblies. Students must evaluate which parts should touch, which need clearance, and whether components should be printed separately or together. Dimensional errors become immediately visible due to movement.
More advanced students can redesign the mechanism and print with fewer supports. This leads to a 3D Modelling for Beginners task being turned into an engineering optimization problem.
Project 7: Solve a Real Problem
The strongest final project should be made based on individual observation. Students can identify a small problem in their surroundings, such as a cable needing organizing, a component needing a holder, or a label needing mounting. They pick a problem from the environment and develop a design based on real constraints.
The first, less-than-perfect print, should be worked upon iteratively. As a prototype, students should analyze what worked and what features they changed. Best 3D Design Software for Beginners This process produces a much stronger portfolio piece than reproducing a tutorial model.
The Key Takeaway
3D printing projects for students should be sequenced based upon their complexity. They should start with simple geometry and gradually introduce measurement, strength, tolerance, stability, movement, and independent problem-solving.
The real learning depends upon the decisions that are made before printing and the improvements created afterwards.
Frequently Asked Questions (FAQs)
Q1: Are 3D printing projects for students suitable for beginners?
Ans: Yes. Beginners can benefit from a learning path that offers first simple modelling and guided projects, then introduces print preparation, troubleshooting, and more independent design.
Q2: Do beginners need coding to learn 3D printing?
Ans:No. Ordinarily, 3D printing doesn’t require any coding.
Q3: What should students learn first in 3D printing?
Ans: Students should begin with basic 3D geometry and modelling, then learn design-for-print principles, slicing, printer preparation, observation, and iterative improvement.
Q4: How do students improve at 3D printing?
Ans: Students should use short projects and repeat designs iteratively. Results should be observed and one relevant variable changed at a time, rather than simply printing more downloaded models.
Q5. Is 3D printing suitable for school students?
Ans: Yes. With age-appropriate projects and proper supervision, students can use 3D printing to explore design, engineering and practical problem-solving.
Q6. How does 3D printing support STEM learning?
Ans: It connects digital design with physical creation, helping students understand concepts through hands-on experimentation and project development.
Q7. What should beginners learn before using a 3D printer?
Ans: Students should understand basic 3D modelling, measurements, file preparation, printer settings, and essential safety practices.
Q8. Can students create their own 3D printing projects?
Ans: Yes. Students can identify a simple problem, design a solution, create a 3D model, print a prototype, and improve the design based on testing.
Q9. What materials are commonly used in student 3D printing projects?
Ans: PLA is commonly used for beginner projects because it is easy to work with and suitable for many educational applications.
Q10. How can students improve their 3D printing projects?
Ans: Students can test their printed models, identify design or printing issues, make changes to the 3D model and print an improved version.
Editorial References
- Autodesk—3D Printing Design Software: https://www.autodesk.com/in/solutions/3d-printing-design-software
- Autodesk - Design Considerations for Additive Manufacturing: https://www.autodesk.com/learn/ondemand/curated/design-for-additive-manufacturing-with-fusion/5p0AhR0t0k8663u0OScBmt
- Autodesk—3D Modelling Software: https://www.autodesk.com/in/solutions/3d-modelling-software
- Autodesk - Fusion Tutorials: https://www.autodesk.com/solutions/design-manufacturing/fusion-tutorials
- Prusa—First Print with PrusaSlicer: https://help.prusa3d.com/article/first-print-with-prusaslicer-2-9_1753
- Formlabs—FDM vs. SLA vs. SLS: https://formlabs.com/blog/fdm-vs-sla-vs-sls-how-to-choose-the-right-3d-printing-technology/