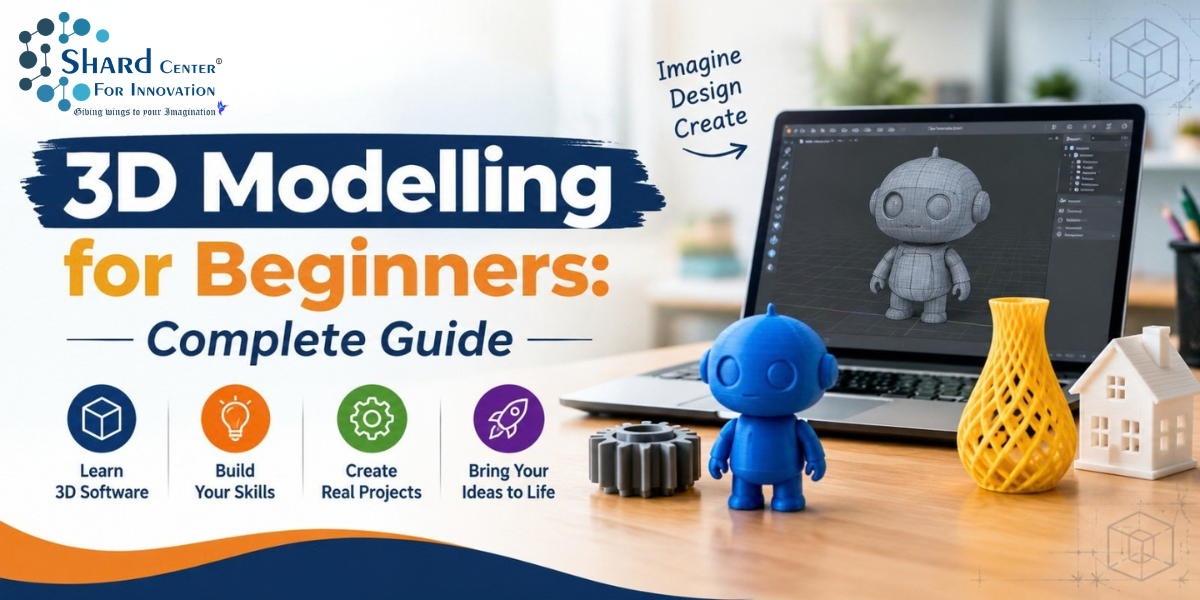
3D Modelling for Beginners delineates the entire workflow of 3D printing: from designing an idea to finally printing and inspecting it. This piece is created for beginner students, parents, and educators in mind and explains how the entire workflow for 3D printing is connected.
This article is part of the series 3D Printing Course Guide and connects back to the pillar page near the beginning of the published article.
What Is 3D Modelling?
3D models are modelled objects with digital height, width, and depth dimensions, which are created for the purpose of 3D printing by the printer. The process of the modelling is similar to digital sculpting, but many objects are created in a more structured manner: first a two-dimensional sketch is drawn, its dimensions are defined, it is turned into a solid through an operation such as extrusion, and then more features are added. 3D printing builds spatial awareness, as students learn to think in 3D when they are modelling the object.
Start With Primitives, Sketches, and Dimensions
It is best to begin with relatively easier 3D objects such as cubes, cylinders, spheres, and cones. Doing so allows an intuitive understanding of volume and alignment. Sketch-based CAD allows students to use another method: that of creating a 2D profile, constraining its dimensions and then revolving it into a 3D form. A good way to 3D model is to measure the dimensions of a real-life object and recreate a digital, modelled interface around it. For example, if a desk organizer is supposed to hold pens, its compartments should be based on the dimensions of real objects.
Learn the Core Modelling Operations
Learning the modelling operations is important for the 3D Printing Course for Kids and Beginners Extrude adds depth to a model, while cut removes material. Fillet rounds an edge while shell hollows a solid while keeping the chosen wall thickness, while Boolean operations combine, subtract, and interact solid bodies. These operations should be practiced by beginners through making objects, as designing a single object can combine many of these operations. For example, making a pencil holder can combine cylinder, shell, and cut features, while a bracket utilizes sketches, constraints, holes, and fillets. Each command should be learned through developing an object rather than in isolation.
Design for the Layer-by-Layer Process
A model, while being a fine CAD, can still be a poor 3D design. This is because 3D printing creates an object layer-by-layer, so unsupported faces and severe overhangs can create issues. Beginners should consider how an object will sit on the build plate when they are creating its 3D prints. Orientation impacts 3D Printing Course definitively—it changes the amount of support required, the surface finish, the strength direction, and the size of the contact area with the bed. It should therefore be considered early on to modify a shape in order to make 3D printing better, instead of relying upon support structures later on.
Wall Thickness, Holes, and Small Features
The geometry must not be very thin—a wall on a screen can actually be too thin for the nozzle, resin process, or printer resolution to be created safely. Text, tiny holes, and narrow pins can be printed very differently than their stated CAD dimensions. This feature about 3D printing varies from process to process and machine to machine. It is best to work according to the design guidance of the printer being used, as, according to Formlabs’ comparison of FDM, SLA, and SLS, for example, there are several differences between minimum feature recommendations from technology to technology. It should be clear to the user that design rules are dependent upon the process.
Tolerance and Clearance: Making Parts Fit
Leaving two printed components at their nominal sizes, when they seem to fit together, is not wise because materials can shrink or expand. This is why designers create additional clearance between interlinking surfaces. Users can try modelling a small tolerance band with several pegs or gaps with differing clearances and proceed to printing it. The fit can then be examined, providing an intuitive reference for other projects.
Exporting and Checking the Model
After a design is complete, it should be transferred into a manufacturing workflow. STL and 3MF are common mesh formats, while Autodesk’s Fusion documentation allows additive preparation within the manufacturing workspace as well as exports to formats such as 3MF, STL, and OBJ.
Before a model is sliced, its scale, orientation, and model integrity must be verified. Then the sliced layers should be previewed to detect any unobserved issues.
The Takeaway
It is important to understand the workflow of the 3D Printing Course Guide to conceptualize a design from an idea to a product. It is useful to first learn a few operations well, measure real objects, imagine the final product and make amends in the print orientation and test tolerance, rather than hope to get a perfect product in a single get-go. The goal of 3D modelling is to transform an idea into a physical project, which may not necessarily be a perfect version in the first instance.
Frequently Asked Questions (FAQs)
Q1: Is 3D modelling for beginners suitable for complete beginners?
Ans: Yes. Beginners can start with the simplest modelling and guided projects and then move on to print preparation, troubleshooting, and more involved designs.
Q2: Do beginners need coding to learn 3D printing?
Ans: No. Coding is not required in ordinary 3D printing, which utilizes dedicated modeling and slicing software.
Q3: What should first be taught to students in 3D printing?
Ans: Basic 3D modelling and geometry should be learned, followed by design-for-print principles, slicing, printer preparation, observation, and iterative development.
Q4: How do students improve their skills in 3D printing?
Ans: Students can start by creating simple projects and then repeating the full design-print-test-improve cycle. Building with and changing one variable at a time builds more understanding than trying to build increasingly complex models.
Q5. What skills are needed to learn 3D modelling?
Ans: Basic computer skills, spatial understanding, creativity, measurement, and problem-solving are useful. Technical skills can be developed through regular practice.
Q6. Can students learn 3D modelling?
Ans: Yes. Students can learn basic 3D modelling through age-appropriate software and projects, creating objects such as educational models, prototypes, and simple functional designs.
Q7. What should beginners learn first in 3D modelling?
Ans: Beginners should start with basic shapes, dimensions, measurements, object manipulation, combining shapes, and simple design principles before moving to complex models.
Q8. How do you prepare a 3D model for printing?
Ans: The model is usually exported in a suitable file format, checked for common design problems, and processed through slicing software to generate instructions for the 3D printer.
Q9. What projects can beginners create with 3D modelling?
Ans: Beginners can create keychains, phone stands, simple toys, organizers, miniature models, prototypes, customized objects, and basic mechanical components.
Q10. Can 3D modelling help with a career in 3D printing?
Ans: Yes. 3D modelling is an important skill for areas such as 3D printing, product design, engineering, architecture, prototyping, manufacturing, and digital fabrication.
References
Use these authoritative references for factual verification and outbound citations where relevant in the CMS. Accessed September 2026.
- Autodesk—3D Printing Design Software: https://www.autodesk.com/in/solutions/3d-printing-design-software
- Autodesk - Design Considerations for Additive Manufacturing: https://www.autodesk.com/learn/ondemand/curated/design-for-additive-manufacturing-with-fusion/5p0AhR0t0k8663u0OScBmt
- Autodesk—3D Modelling Software: https://www.autodesk.com/in/solutions/3d-modelling-software
- Autodesk - Fusion Tutorials: https://www.autodesk.com/solutions/design-manufacturing/fusion-tutorials
- Prusa—First Print with PrusaSlicer: https://help.prusa3d.com/article/first-print-with-prusaslicer-2-9_1753
- Formlabs—FDM vs. SLA vs. SLS: https://formlabs.com/blog/fdm-vs-sla-vs-sls-how-to-choose-the-right-3d-printing-technology/