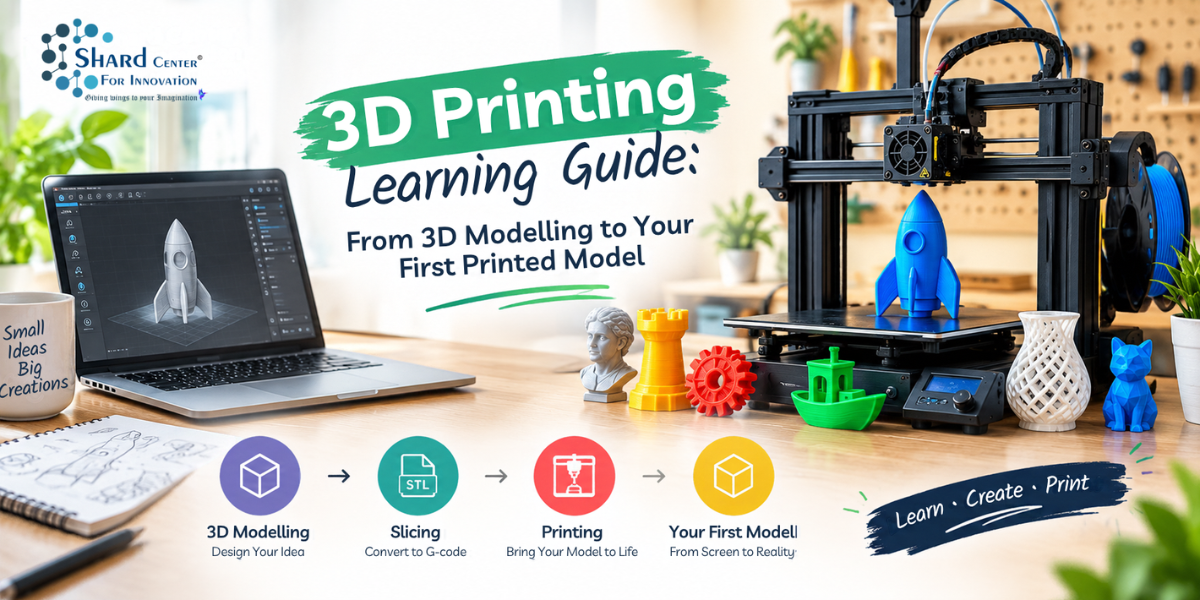
This guide helps beginners to understand the basics of the 3D printing workflow – how an idea is generated and prepared for additive manufacturing, to finally being printed and iteratively improved. The 3D Printing Learning Guide: From 3D Modelling to Your First Printed Model is written for parents, learners, and teachers who wish to learn the skill deeply instead of just learning software names or printer settings. This explains what to learn and how each skill matters.
This article is part of our complete 3D Printing Course Guide.
Step 1: Choose a Small First Project
The first project should be a simple project that is easy to model and print, such as a name tag, keychain, token or desk object instead of a large model. It should serve the purpose of demonstrating the entire workflow of 3D printing. One or two requirements should be defined before the software is operated, such as a tag width of 60 mm with a 5 mm hole and readable raised text.
Step 2: Create the 3D Model
The second step is to create the 3D model by using a beginner-friendly tool. The overall dimensions should be selected first, and then features should be added. The model should be rotated and checked from multiple views.
Step 3: Check Whether the Design Is Printable
Before the design is exported, inquire how the object will be built layer by layer. Autodesk’s guidance suggests checking overhangs, minimum feature sizes, and opportunities to reduce support. Problems should be solved beforehand rather than having complications in the slicer.
Step 4: Export or Send the Model to the Manufacturing Workflow
Save the editable source file, and then export it in a printable format or move it into the additive manufacturing workspace. The software Fusion can prepare models in its Manufacture workspace and also export files in formats such as 3MF and STL.
Step 5: Slice the Model
Upload the model into the slicer, and select the right printer and material profile. Proceed to choose an orientation and review basic settings, including layer height, walls, infill, and supports. Prusa suggests 0.15 or 0.2 mm layers as good starting profiles and also explains the role of supports, infill, and brim. Read more: Best 3D Printing Courses for Students and Beginners: What to Learn
Step 6: Preview Every Layer
Preview the file before printing. Make sure that the model will develop in the expected way. During preview it is possible to detect errors and prevent the loss of time and materials later on during printing.
Step 7: Prepare the Printer and Watch the First Layer
Follow the process for setting up the printer. Pay emphasis on the first later as it prepares the foundation. Immediately stop the process if the material is not adhering or the nozzle path looks wrong. Beginners should read the manufacturer's instructions and the safety rules of their school, lab, or workshop before operating the machine, as some workflows require appropriate care.
Step 8: Remove, Inspect, and Measure the Print
Inspect the object once printing is complete. The text, if any, should be readable, and the object must be flat. The required dimensions must be confirmed through appearance and measurement. To improve troubleshooting, separate design problems from printing problems.
Step 9: Make a Second Version
Develop a second version with different dimensions and printer settings by finding at least one meaningful improvement in the source model. This will ensure that printing becomes a learning cycle.
The Key Takeaway
It is not very complicated to prepare a 3D-printed object as a beginner. Learners can model a small object, slice it, preview it and finally print it. The printed version can further be improved through iterations. A different question is answered by every stage. Learners interested in building practical 3D printing skills can also explore 3D Printing Course Admission options to understand the available programs and learning paths. Other articles in this series, such as the 3D Printing Program for Students: Curriculum, Projects, and the Learning Path, offer more information on the 3D printing workflow for beginners and students.
Frequently Asked Questions (FAQs)
Q1: Is the 3D printing learning guide suitable for complete beginners?
Ans: Yes, as it involves first learning simple modelling and guided projects and then preparing the print.
Q2: Do beginners need coding to learn 3D printing?
Ans: No, coding is not required for 3D printing.
Q3: What should students learn first in 3D printing?
Ans: Students should begin with basic 3D geometry and modelling, then learn design-for-print principles, slicing, printer preparation, observation and iterative improvement.
Q4: How do students get better at 3D printing?
Ans: Students should develop their projects and get better through iteration. It is important to understand the designing and printing process instead of just printing more downloaded models.
Q5. What is an STL file in 3D printing?
Ans: An STL file contains the geometric information of a 3D model and is commonly used to prepare a design for 3D printing.
Q6. What is a slicer in 3D printing?
Ans: A slicer converts a 3D model into instructions that a 3D printer can follow. It also lets users adjust settings such as layer height, infill, supports, and print speed.
Q7. What can students make with a 3D printer?
Ans: Students can create prototypes, simple mechanical parts, educational models, miniatures, product concepts, architectural models, and other project-based designs.
Q8. How long does it take to learn 3D printing?
Ans: The basic concepts can be learned relatively quickly, but developing strong skills in modelling, printer settings, material selection, and troubleshooting requires regular practice.
Q9. What skills are useful for learning 3D printing?
Ans: Useful skills include 3D modelling, design thinking, basic CAD, problem-solving, measurement, prototyping, slicing, and understanding different printing materials.
Q10. Can beginners learn 3D printing without technical experience?
Ans: Yes. Beginners can start with simple modelling tools and basic printer projects, then gradually move toward more advanced designs, materials, and printing techniques.
References
- Autodesk - 3D Printing Design Software: https://www.autodesk.com/in/solutions/3d-printing-design-software
- Autodesk - Design Considerations for Additive Manufacturing: https://www.autodesk.com/learn/ondemand/curated/design-for-additive-manufacturing-with-fusion/5p0AhR0t0k8663u0OScBmt
- Autodesk - 3D Modelling Software: https://www.autodesk.com/in/solutions/3d-modelling-software
- Autodesk - Fusion Tutorials: https://www.autodesk.com/solutions/design-manufacturing/fusion-tutorials
- Prusa - First Print with PrusaSlicer: https://help.prusa3d.com/article/first-print-with-prusaslicer-2-9_1753
- Formlabs - FDM vs SLA vs SLS: https://formlabs.com/blog/fdm-vs-sla-vs-sls-how-to-choose-the-right-3d-printing-technology/